We guest wrote an article for Board-Mag.com on how to take photos on snow. Hopefully you will find this useful for your upcoming snowboard and ski trips in the next couple of months.
You can check out the article below:
How to take the best photos for your upcoming snowboard trip.
You’ve been patiently waiting all year for the annual snowboard trip and it is just around the corner. You missed the best bails the year before or maybe your photos are too bright or not bright enough, the snow looks grey and everything is generally not right. If this sounds familiar then read on to discover our tips and tricks for taking photos on snow (snowboard & snowkite)
The right gear for the job.
Think carefully when choosing your camera equipment for your upcoming snowboard trip. You are always going to get better and more controlled shots from your DSLR over a point and shoot or action camera but the practicality is you need both to make the most of all situations.
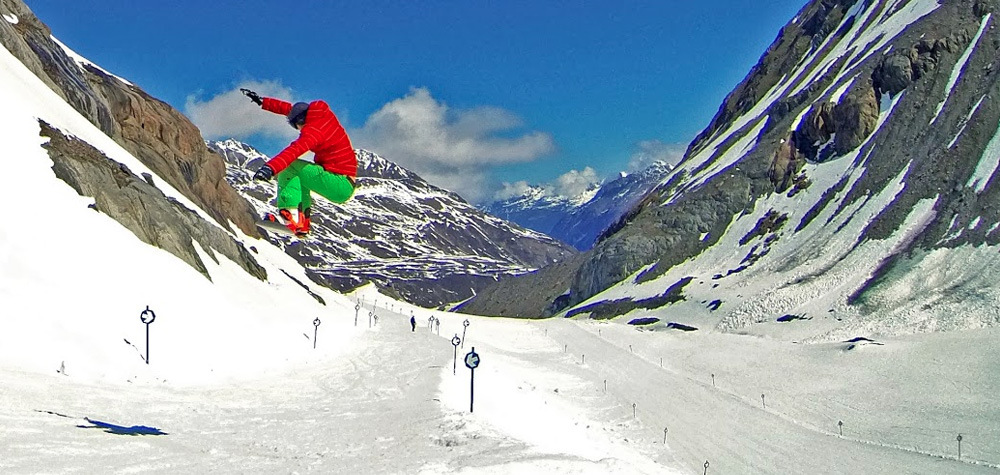
Advantages of action camera (such as GoPro)
- Point and shoot – easy to pass around the group without the need to learn any of the modes or settings.
- Wide angle – a big field of view means you can get closer to the action and step back to guarantee your subject will be in the frame.
- Compact – small cameras are great for taking in and out of your pocket on the ski lifts without needing to worry about extra bags or gear.
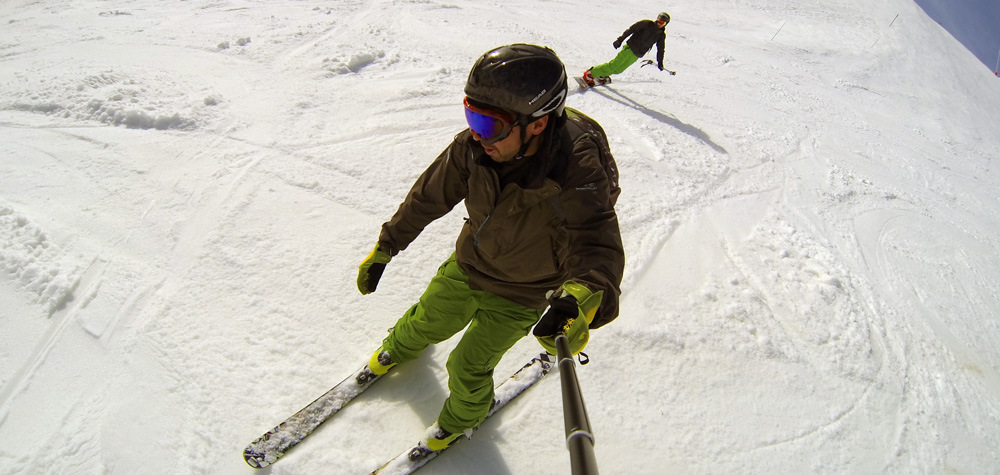
- Loads of mounting options – mount cameras on collapsible poles, helmet mount them or stick them on your board. You can stick a GoPro on anything and forget about it.
- Crash proof – cameras such as the GoPro are basically destroy proof under normal use. Super tough external housing makes them both waterproof and protects the camera inside.
Disadvantages of action camera (such as GoPro)
- Point and shoot – limited selection of settings and the ability to frame shots.
- Wide angle – Although the wide angle lens is sometimes beneficial you don’t always want the warped images that a 270 degree lens gives you.
- Framing your shot – Without optional accessories most small action cameras do not have screens for allowing you to check your field of view and see what you are actually filming / photographing.
Advantages of a DSLR
- Full manual control – with a reasonable understanding of your cameras settings and photography there is not a single situation your camera will be unable to handle.
- Quality – most DSLR cameras feature much larger sensors than most point and shoot cameras. Combine the bigger sensor and large pixel count for brighter and sharper images.
- Choice of lens – Want to shoot wide? put on and wide lens, want to shoot close ups? swap it out again.
Disadvantages of a DSLR
- Durability – although higher end DSLR cameras feature weatherproofing on the lens and body you are never going to be in an ideal situation for carrying it around the mountain, on the lifts, riding with it and using it in cold/wet conditions.
- Price – not everyone owns a DSLR and not everyone wants, or needs to either. They are more for the budding photographers among us and the cost of setting up a reasonable rig is easily 2.5 X the price of an action camera setup.
- Size – The body and lens of a DSLR is quite large regardless of what lens you are going to be shooting with. You may also want to carry spare batteries, lens cloths, more lens’, tripod… before you know it you’re carrying around 15kg of equipment on your back.
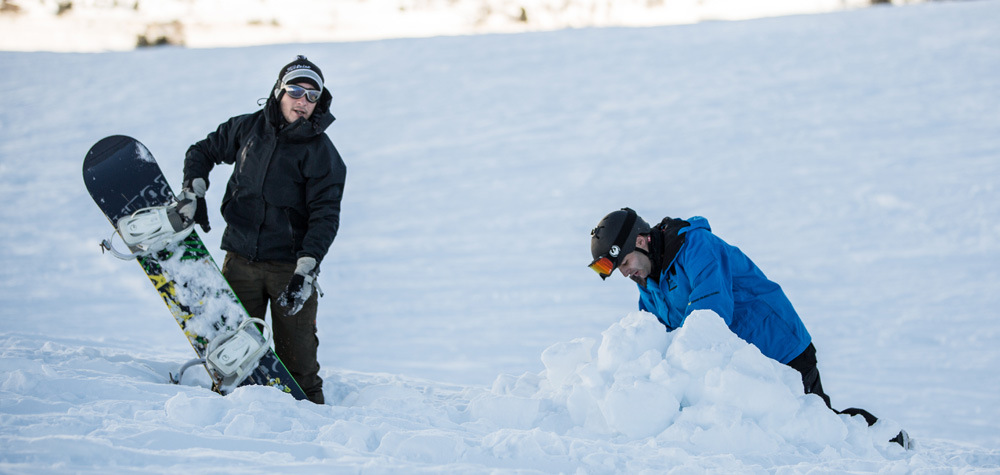
Top 5 tips for snowboarding camera equipment.
- Allow any of your electronic equipment to reach indoor / room temperature slowly before turning them on and checking your days footage. This will heavily combat the chances of condensation and something getting broken.
- Choose your lens for that particular day and stick with it. This will reduce the amount of gear you need to carry. Every time you are on the mountain swapping lens’ back and forth you are also putting your camera at risk (you will probably need to take your gloves off to which sucks!)
- Buy a telescopic pole for your GoPro. These poles come in loads of different sizes and models. Some come with a tripod adapter built in and some need one adding so make sure its all together and working before your holiday.
- Take your charger. Batteries do not like the cold, it is advisable to get an idea of how long your camera batteries work when you are at home as then you can adjust this time after your first day on the slopes and work out a rough percentage difference.
- Take a tripod. The mountains house some of the most scenic views you are going to see for the next year so make the most of it. Expect great sky’s littered with stars. Whether you are shooting on an action camera or DSLR you can capture time lapse scenes and star trails.
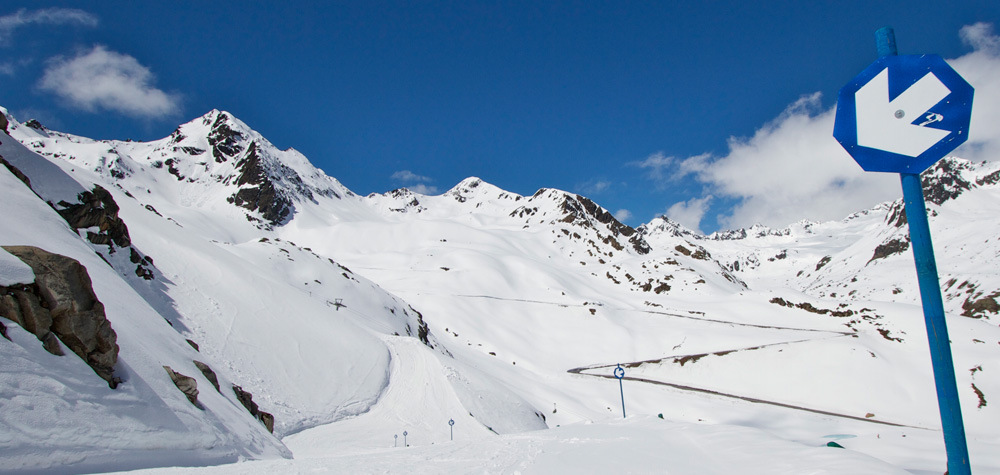
Landscape photos:
To make the most of your landscape and scenic shots whilst you are away I would suggest using a tripod or similar piece of equipment. If you do not have anything to hold your camera in place then improvise with your surroundings, a car roof, wall or bench will make a good start.
Things to remember:
Keep your horizons straight. Use something in your photo as a point of reference to frame your photo correctly before you press the shutter. If you find it difficult to frame the photo with the horizon accurate then shoot the photo slightly wider (zoomed out) to allow a margin to crop and rotate the photo later digitally.
Depending on your light conditions you will want to select the right settings on your camera. For landscape we tend to want to grab as much depth and detail as possible from the foreground all the way back to the horizon. To do this select a smaller aperture of F5.6 or less. You may be able to go up or down a few stops depending on the situation. The lower the aperture the more detail you will get into your final shot. Next up is to set your ISO and shutter speed. It is always best to use as low an ISO as possible. Most cameras start at 100 ISO and go over 1000. Depending on the quality of the body and lens you are using photographs shot over 400 ISO tend to generate a lot of noise on the image. If you are in bright light then shoot with a high shutter speed to reduce the amount of light which can enter the lens. If your photos are too dark then reduce the shutter speed. If your photo is blurry because you cannot keep the camera still enough for the selected shutter speed, increase the shutter speed and also increase the ISO to compensate.
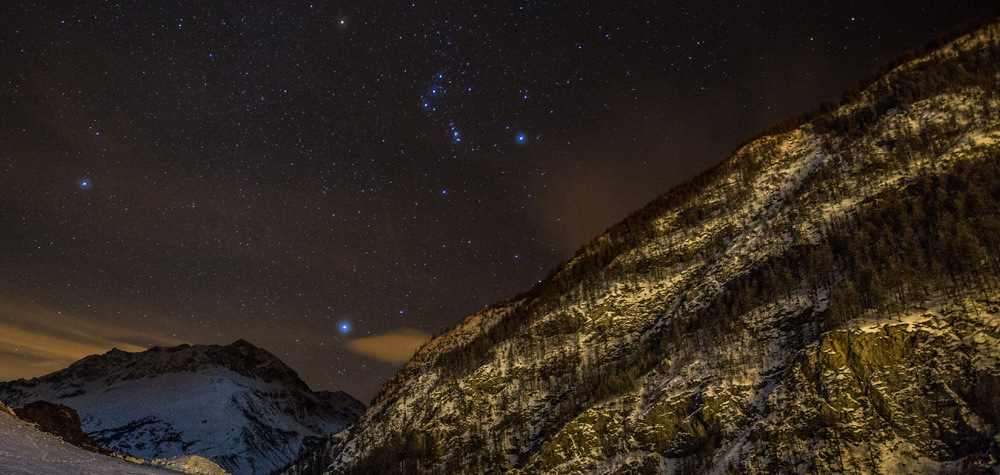
Action Photos:
Time for the fun stuff. Due to the fact this is what most riders want to achieve I will keep this section as easy to follow as possible. If you are struggling to capture the action then try shooting on burst mode or interval mode. For a GoPro shoot a photo every 0.5 seconds for the best chance to capture something interesting, the joys of digital allow us to delete excess photos easily. Most DSLR cameras have options of 3+ photos a second when holding down the shutter button in the correct mode.
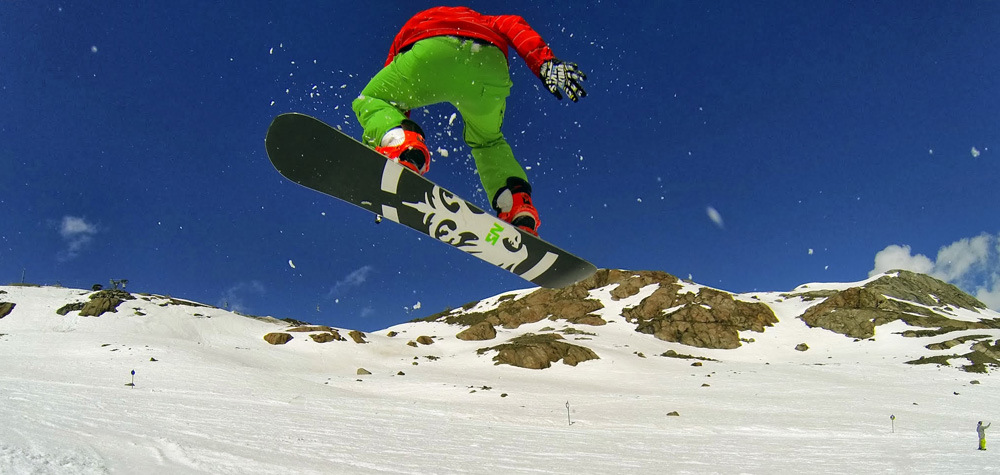
Sunny conditions:
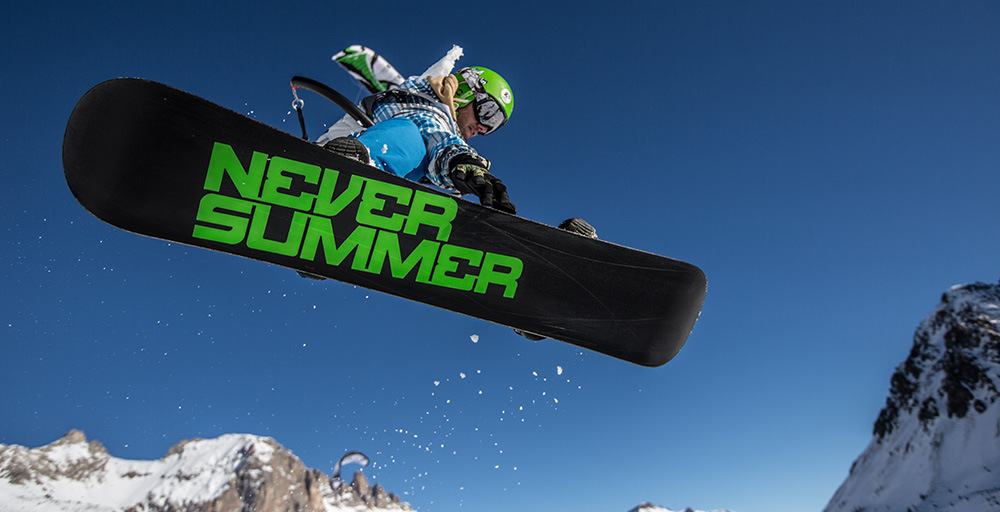
– high shutter speeds (1000+) The faster the shutter speed, the crisper the photo.
– mid range aperture (F3-5.6)
– low ISO – lower the better, should be 100 in bright light.
– generally it is best to shoot with the sun on your back with a well lit subject but by using the right mix of exposure, aperture and iso you can get some great results.
Flat light:
– mid / high shutter speed (800+)
– shoot at a higher aperture, the subject should remain in full focus but the background detail will be less. Due to flat light the background is probably not very exciting anyway. F3.3 >.
– If your subject is blurry then the shutter speed is to low. Make it higher and compensate using the ISO.
– fill flash, use your flash on a low setting to bring your subject to the front of the image and separate them from the dull background behind.
Dark:
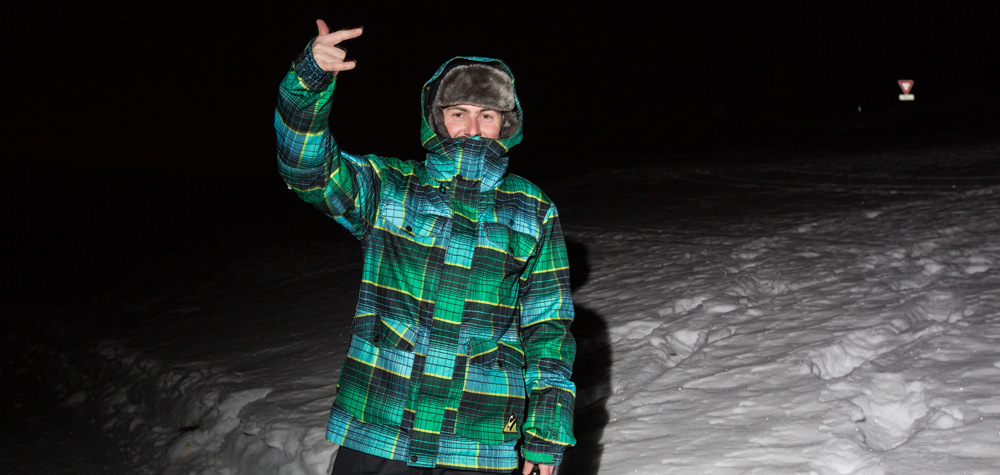
Shooting in falling light with action shots is never going to be a great situation to be in without a flash.
– use a flash to light your subject or the area around them. using a flash to capture an exact moment will also allow you to shoot at a lower shutter speed (more light) to capture more of the surrounding.
– maximise the use of artificial light coming from lights or buildings in the area to give your photos an extra glow.
Top 5 tips for photographing snowboard conditions.
- Wear thin gloves. If you are going to be spending a lot of time behind the camera you will be in a much better situation leaving on a pair of thin gloves all day and being able to navigate menus and buttons rather than taking on and off a thicker pair which in turn will just end up as soaking wet dead weights.
- Shoot in RAW. If you are lucky enough to be shooting a DSLR or prosumer camera you should be able to shoot in RAW instead of Jpg. This will allow you much more control on losslessly altering your photos meaning you won’t loose any quality when you export your image. ie. correcting your white balance from blue/orange tint to white.
- Set exposure on neutral objects. Use the sky or something other than the snow to set your correct exposure.
- Test and charge all your kit before you leave. This is very important for cameras such as the GoPro. The more you understand the focal length and what is is in your frame the better. This will allow you to effectively shoot your GoPro blind. Point it in the right direction and at the right distance without seeing anything through an LCD screen or viewfinder.
- Shoot video. If after reading this guide you are still not getting the photos then maybe just video the action instead. It is not ideal but you can always grab still frames on your computer later.
The Loose ends.
Composition – When taking your photos try to diversify the shots from just being super white. Shoot low to close to see more of the board or skis to brighten up your image. Shooting across from your subject and capturing mountains or trees off the piste is another good example.
Freezer bags – If you want to keep your equipment dry and don’t have the budget for specialist bags wrap your camera and spares inside re-sealable sandwich or freezer bags.
The natural reflector – Remember that snow reflects a super amount of light. This allows for some photos which would otherwise require extra hardware or a flash to make.
If you have anything you want to add or have some more specific questions then drop us a line on the contact form or post a comment below.
Happy shooting.
